
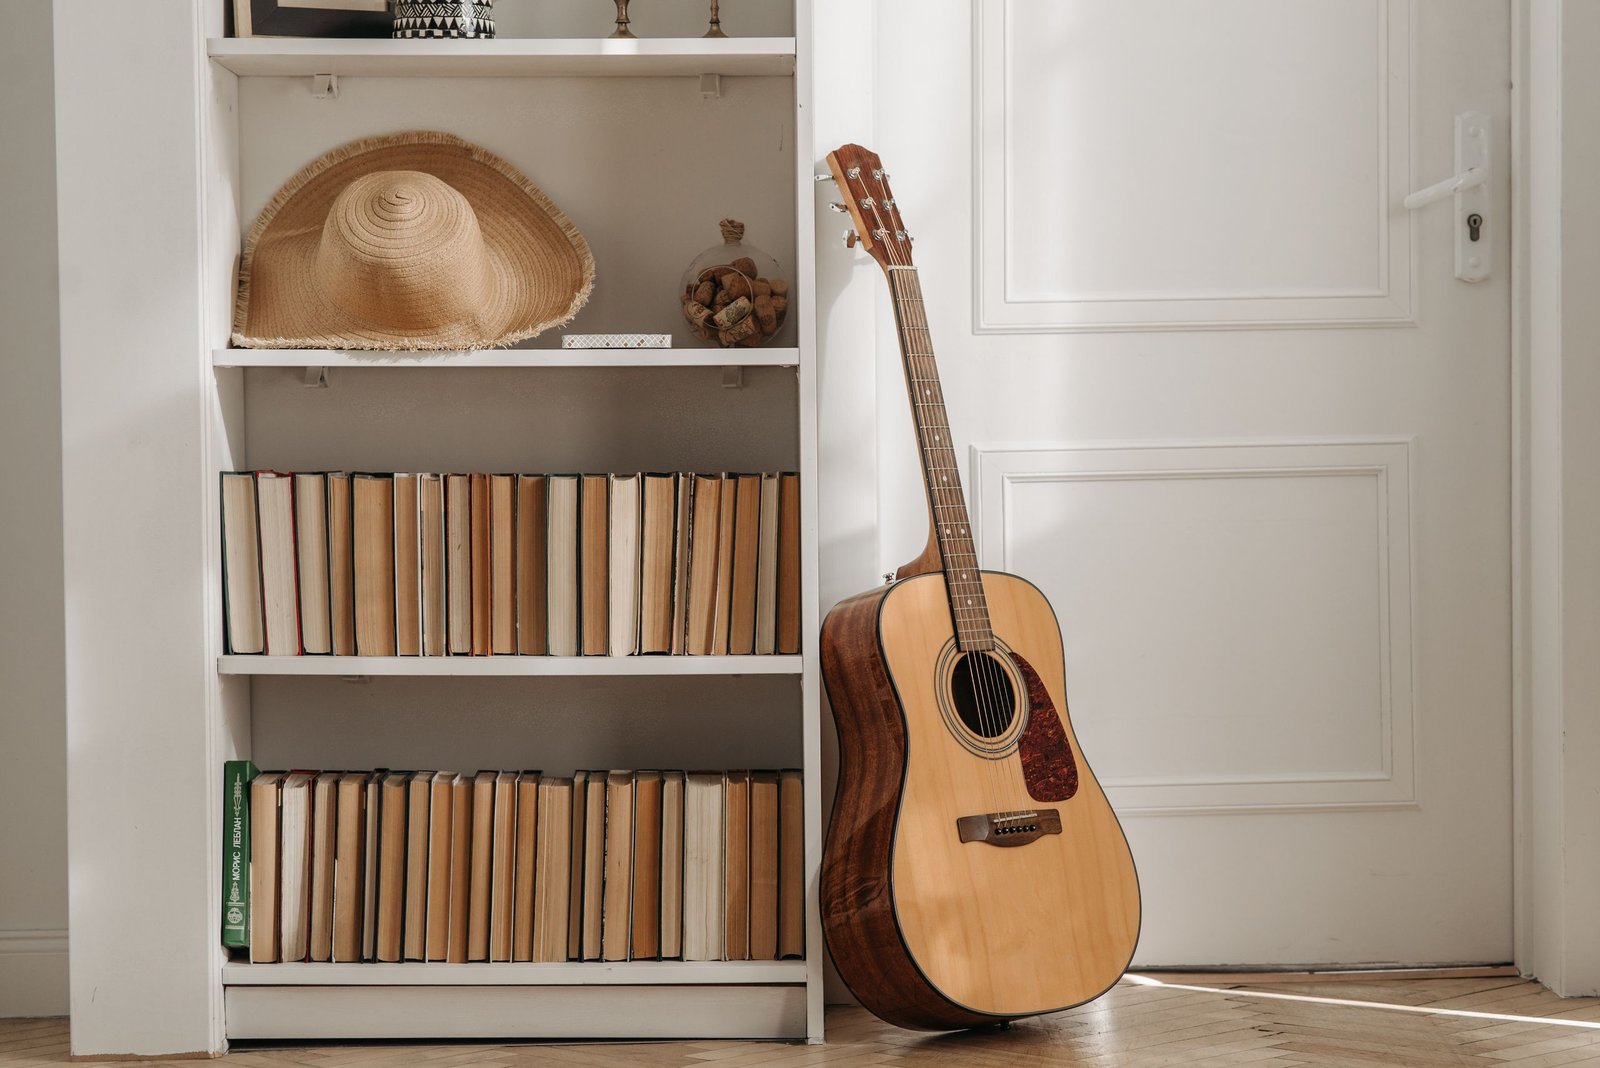
Introduction
Building your own bookshelf is a practical way to organize books, display decorations, and improve your living space. How to Build a Bookshelf You do not need an expensive workshop or advanced woodworking skills to get started. With careful measurements, suitable wood, and a few basic hand tools, you can create a useful bookshelf that fits your room.
Learning how to build a bookshelf also helps you develop useful DIY skills, including measuring, cutting, joining, and finishing wood. How to Build a Bookshelf This guide explains seven simple steps for making a small, fixed-shelf wooden bookcase without relying on power tools.
Building a bookshelf involves seven main steps: planning the dimensions, selecting the wood, cutting the components, preparing the joints, testing the fit, assembling the frame, and finishing the surface. How to Build a Bookshelf Accurate measurements and suitable shelf support help produce a stable piece of furniture.
What You Need to Build a Bookshelf
Before starting, gather your materials and tools. How to Build a Bookshelf Having everything ready makes the project easier to manage and reduces mistakes during assembly.
Essential Hand Tools
You can complete a basic project using a measuring tape, carpenter’s square, hand saw, chisel, wooden mallet, hand screwdriver, hammer, sanding block, and suitable clamps. How to Build a Bookshelf A pencil is also useful for marking measurements clearly.
Materials and Wood Selection
Pine is a practical option for beginners because it is generally easy to work with using hand tools. You will also need wood glue, suitable screws, and a thin back panel to improve the bookshelf’s stability.
Choose straight boards without major cracks, twisting, or excessive warping. How to Build a Bookshelf The right material matters more than choosing an expensive type of wood.
Example Bookshelf Dimensions
For this project, use a simple bookcase approximately 24 inches wide, 30 inches high, and 10 inches deep, excluding the rear panel. The example uses three-quarter-inch-thick boards and two interior shelves.
| Component | Quantity | Example size |
| Side panels | 2 | 30 × 10 inches |
| Top panel | 1 | 22.5 × 10 inches |
| Bottom panel | 1 | 22.5 × 10 inches |
| Interior shelves | 2 | 22.5 × 10 inches |
| Thin back panel | 1 | Sized to fit the assembled frame |
These dimensions assume the top, bottom, and interior shelves fit between the side panels. How to Build a Bookshelf The back panel should be measured against the completed frame, and its thickness will affect the final depth. Confirm every measurement before cutting.
How to Build a Bookshelf in 7 Simple Steps
Step 1: Plan the Design and Measure the Space
Start by deciding where the bookshelf will stand. Measure the available height, width, and depth, leaving enough room for nearby doors, furniture, and movement.
Think about what you plan to store. How to Build a Bookshelf Standard books, large reference books, and decorative objects may need different shelf spacing. Mark the positions of the two interior shelves on both side panels, using the same measurements on each side.
Step 2: Select and Mark the Wood
Choose boards with straight edges and a reasonably flat surface. Place the pieces on a level work surface and inspect them before marking the required lengths.
Use a measuring tape and carpenter’s square to draw clear cutting lines. Label each component so you can identify the sides, top, bottom, and shelves during assembly.
Step 3: Cut the Wooden Components
Secure each board before cutting it with a hand saw. How to Build a Bookshelf Follow the marked lines slowly, keeping the saw straight to avoid angled edges that may cause gaps during assembly.
Cut matching components carefully. The two side panels should have the same length, while the top, bottom, and interior shelves should have matching widths.
Smooth rough edges with a sanding block. How to Build a Bookshelf Wear eye protection and keep your hands clear of the cutting path.
Step 4: Prepare the Joints
For a beginner-friendly design, butt joints are a straightforward option. In this method, the end of one board meets the face of another, and suitable screws and wood glue help hold the pieces together.
Mark the screw positions before assembly to help keep them aligned. A traditional dado joint, which uses a groove to support a shelf, is another option for someone comfortable with hand chisels. However, it requires more careful marking and cutting.
Step 5: Dry-Fit the Components
A dry fit means putting the pieces together temporarily without glue. This lets you check the alignment before making the joints permanent.
Position the top and bottom panels between the side panels, then check where the interior shelves will sit. Use a carpenter’s square to confirm the corners are at right angles.
Fix measurement errors now. Once the glue is applied, adjustments become more difficult.
Step 6: Assemble the Bookshelf
Apply wood glue according to the product instructions, then join the top and bottom panels to the sides. Use suitable screws driven with a hand screwdriver, and tighten them carefully without damaging the wood.
Install the two interior shelves at the marked positions. Check that each shelf is level and the frame remains square as you work.
Attach a properly sized back panel using suitable fasteners. A secure back panel helps prevent sideways movement, but it must be fitted correctly. Allow the glue to cure for the period stated on its label before loading the bookshelf.
Step 7: Sand, Finish, and Check Stability
Sand the visible surfaces and edges until they feel smooth. Remove the dust before applying paint, stain, or a clear wood finish suitable for the chosen material.
Follow the finish manufacturer’s instructions for application, ventilation, and drying time. Keep the bookshelf unloaded until the finish and adhesive have cured as directed.
Finally, check that the unit stands evenly and that its joints are secure. Anchor the bookshelf to a suitable wall using appropriate anti-tip hardware, following the manufacturer’s installation instructions.
Tips for Building a Strong Bookshelf
A good-looking bookshelf also needs to support its contents safely. Keep these practical points in mind:
- Prevent shelf sag: Wide shelves carrying heavy books may bend over time. Use suitable board thickness, reduce unsupported spans, or add a center support when needed.
- Check measurements twice: Small errors can create uneven shelves or gaps at the joints.
- Choose appropriate wood: Inspect boards for twisting, cracks, and other defects before purchasing them.
- Keep the frame square: Check the corners during assembly rather than waiting until the glue has dried.
- Avoid rushing the finish: Proper drying and curing help protect the surface and joints.
A simple design is often better for a first project than complicated joinery. You can develop more advanced woodworking skills after becoming comfortable with basic assembly.
Common Bookshelf-Building Mistakes to Avoid
One common mistake is cutting every board before confirming the design and measurements. This can waste materials if the shelf dimensions do not account for the thickness of the side panels.
Another problem is choosing shelves that are too thin or too wide for their expected load. Books can be heavy, so shelf support should be planned before construction rather than added after bending becomes noticeable.
Skipping the dry fit is another avoidable error. Test the components, check the corners, and confirm the shelf positions before applying glue. Also, do not assume that a bookshelf is stable simply because it stands upright; proper back-panel support and wall anchoring are important safety considerations.
Frequently Asked Questions
Q1: Can you build a bookshelf using only hand tools?
Yes. A simple bookshelf can be made with a hand saw, measuring tools, a carpenter’s square, chisels, a mallet, and a hand screwdriver. The exact tools depend on the design and joining method.
Q2: What is the easiest bookshelf design for beginners?
A small, fixed-shelf bookcase with straightforward joints is a good starting point. It requires fewer complicated cuts than designs with adjustable shelves or decorative joinery.
Q3: What wood is best for a DIY bookshelf?
Pine is a common beginner-friendly option because it is generally easy to cut and shape by hand. The best choice also depends on your budget, preferred appearance, and the weight the shelves need to support.
Q4: How do you stop a bookshelf from wobbling?
Use accurately fitted joints, check that the frame is square, and install suitable back-panel support. Secure tall or potentially unstable furniture to the wall with appropriate anti-tip hardware.
Q5: How can you prevent bookshelf shelves from sagging?
Choose suitable board thickness, keep unsupported shelf spans reasonable, and account for the weight of the stored books. Wider shelves may need additional support.
Conclusion
Learning how to build a bookshelf is a useful DIY project that combines simple woodworking skills with practical home organization. By planning the dimensions, selecting suitable wood, making accurate cuts, checking the joints, and assembling the frame carefully, you can create a bookshelf that suits your space.
Take your time with each step, prioritize safety, and check the finished structure before adding books. With thoughtful planning and careful workmanship, a straightforward hand-tool project can become a useful addition to your home.
